
Replacing an arm on SmartRack
The top unscrews. It's important that the arms that aren't being replaced are held in place, so they don't fall down during the replacement.
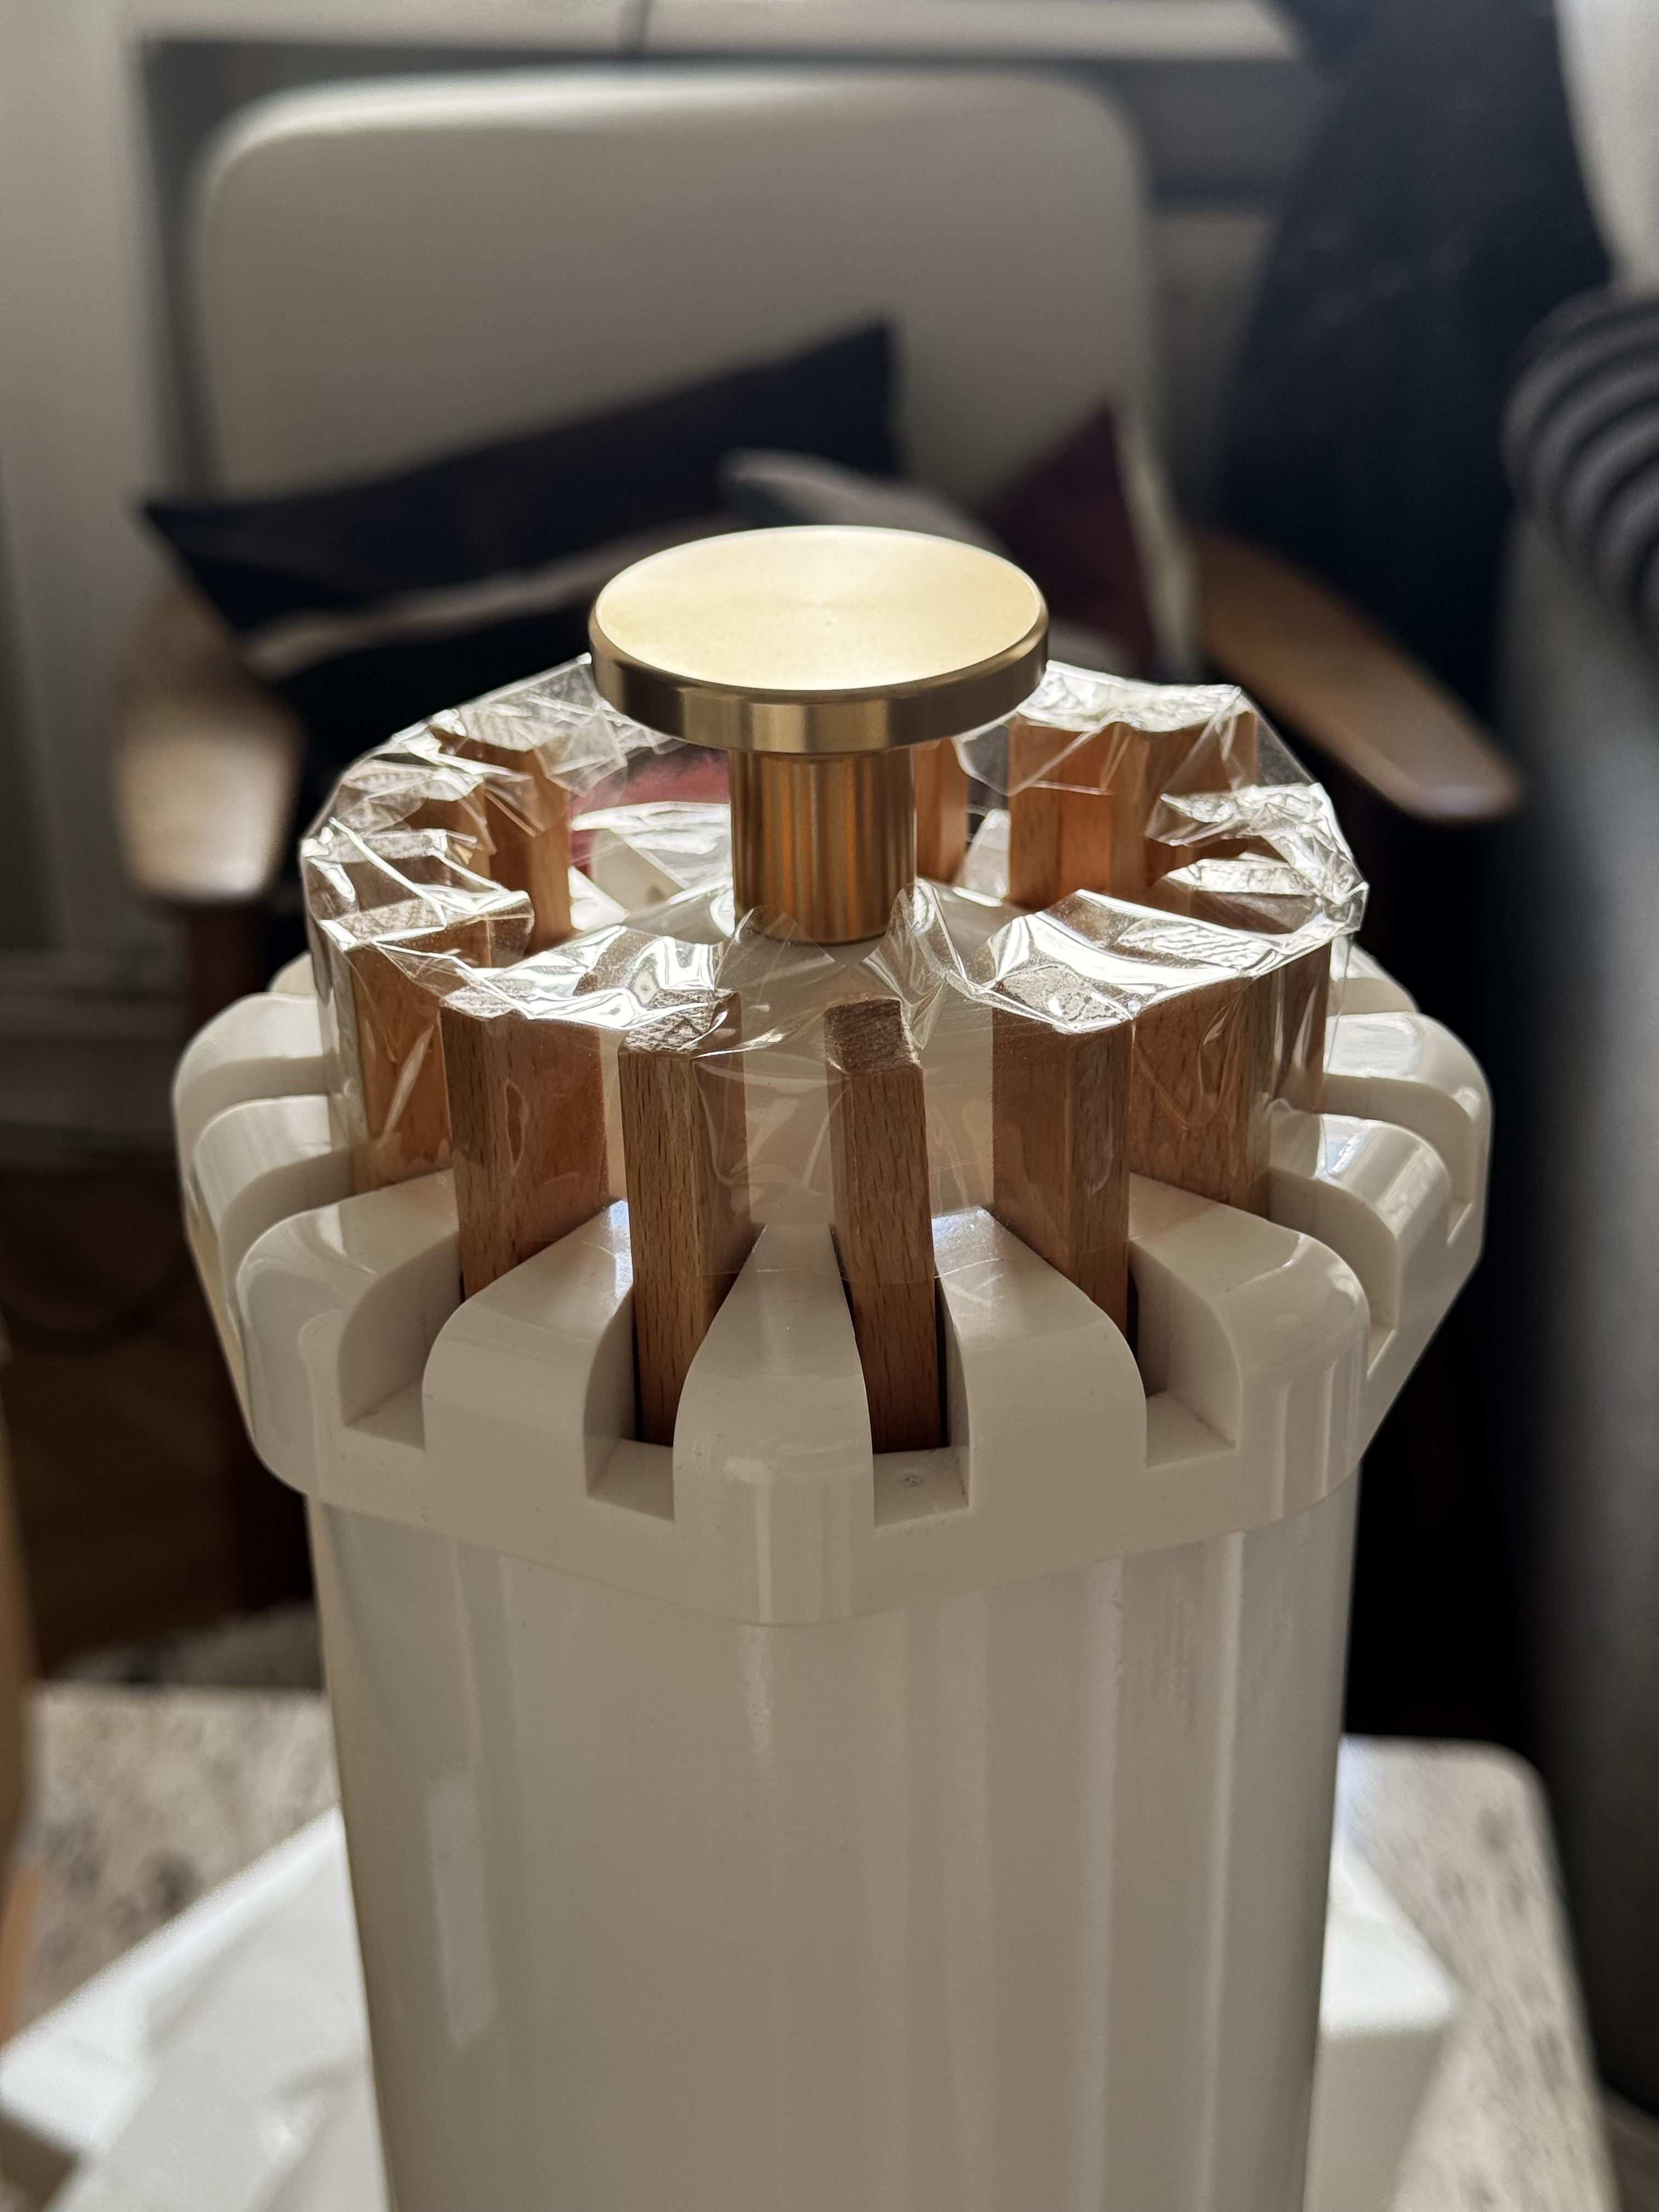
1. Tape the arms of the rack together
Leave the tape off the arm being replaced. Rubber bands can also be used.
The important thing is that the existing arms don't fall down when opened, so make sure the tape holds the arms in place and prevents them from falling through the holes.
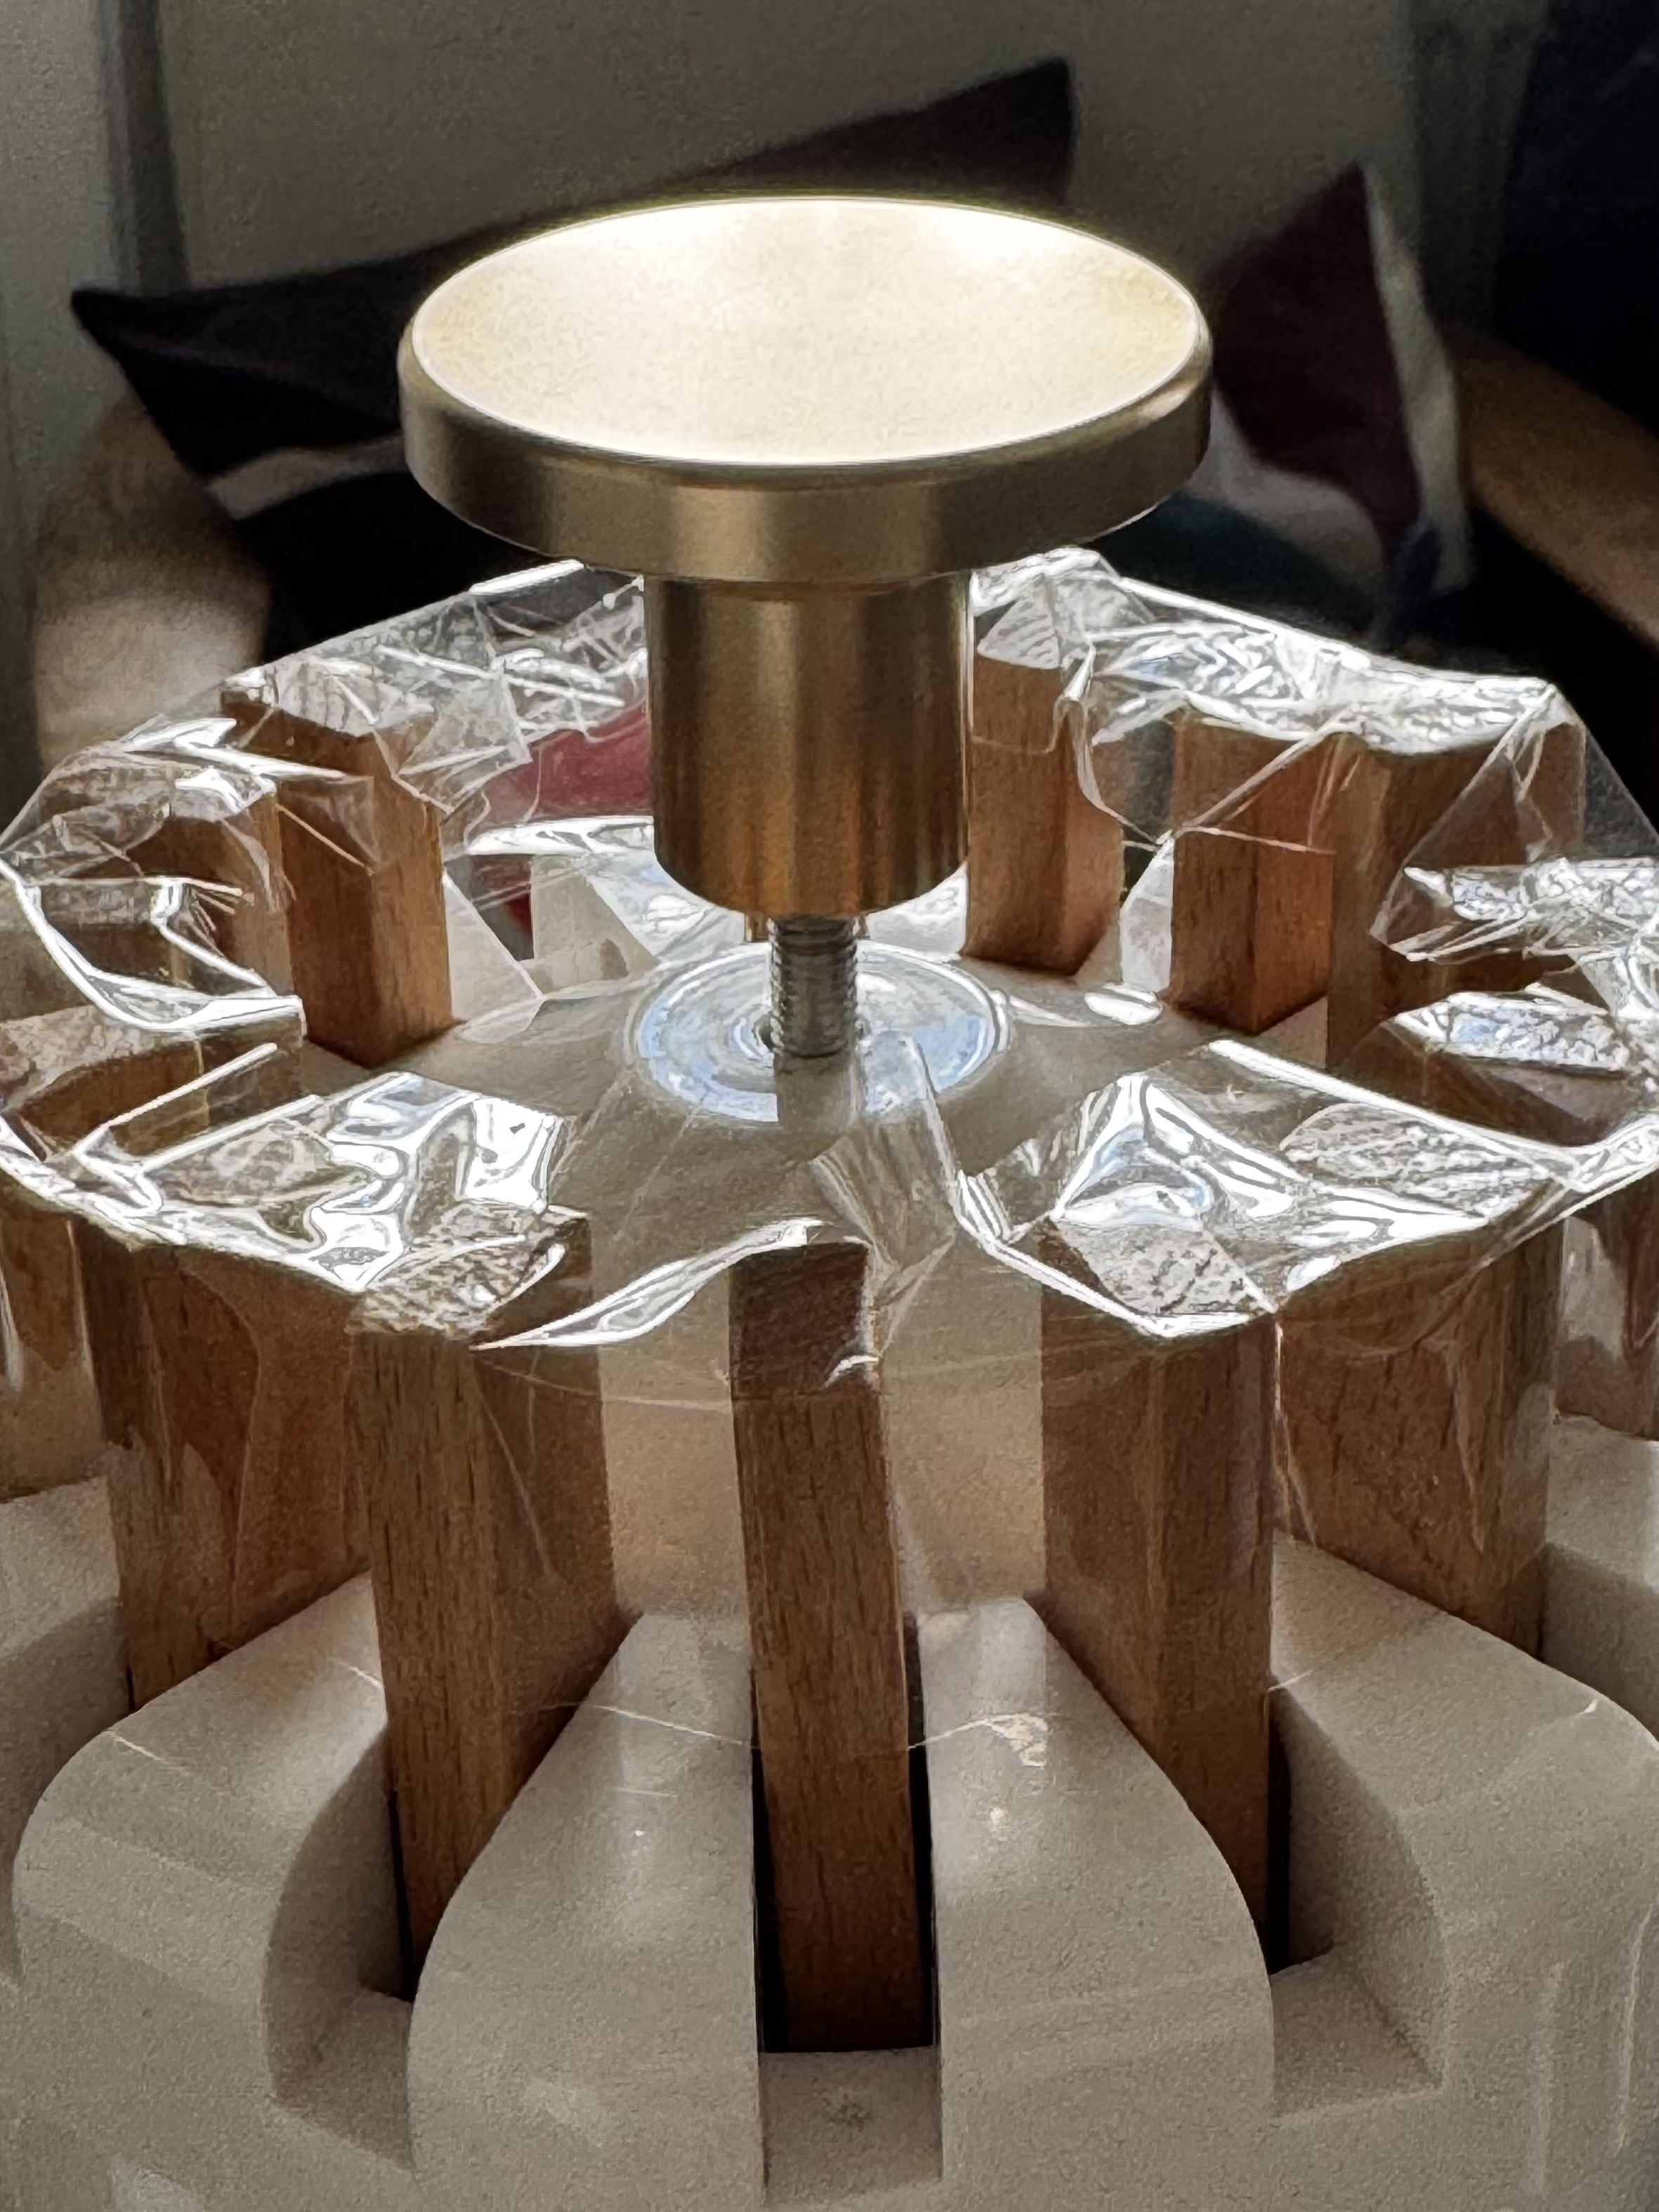
2. Unscrew the top
The top is easy to unscrew.
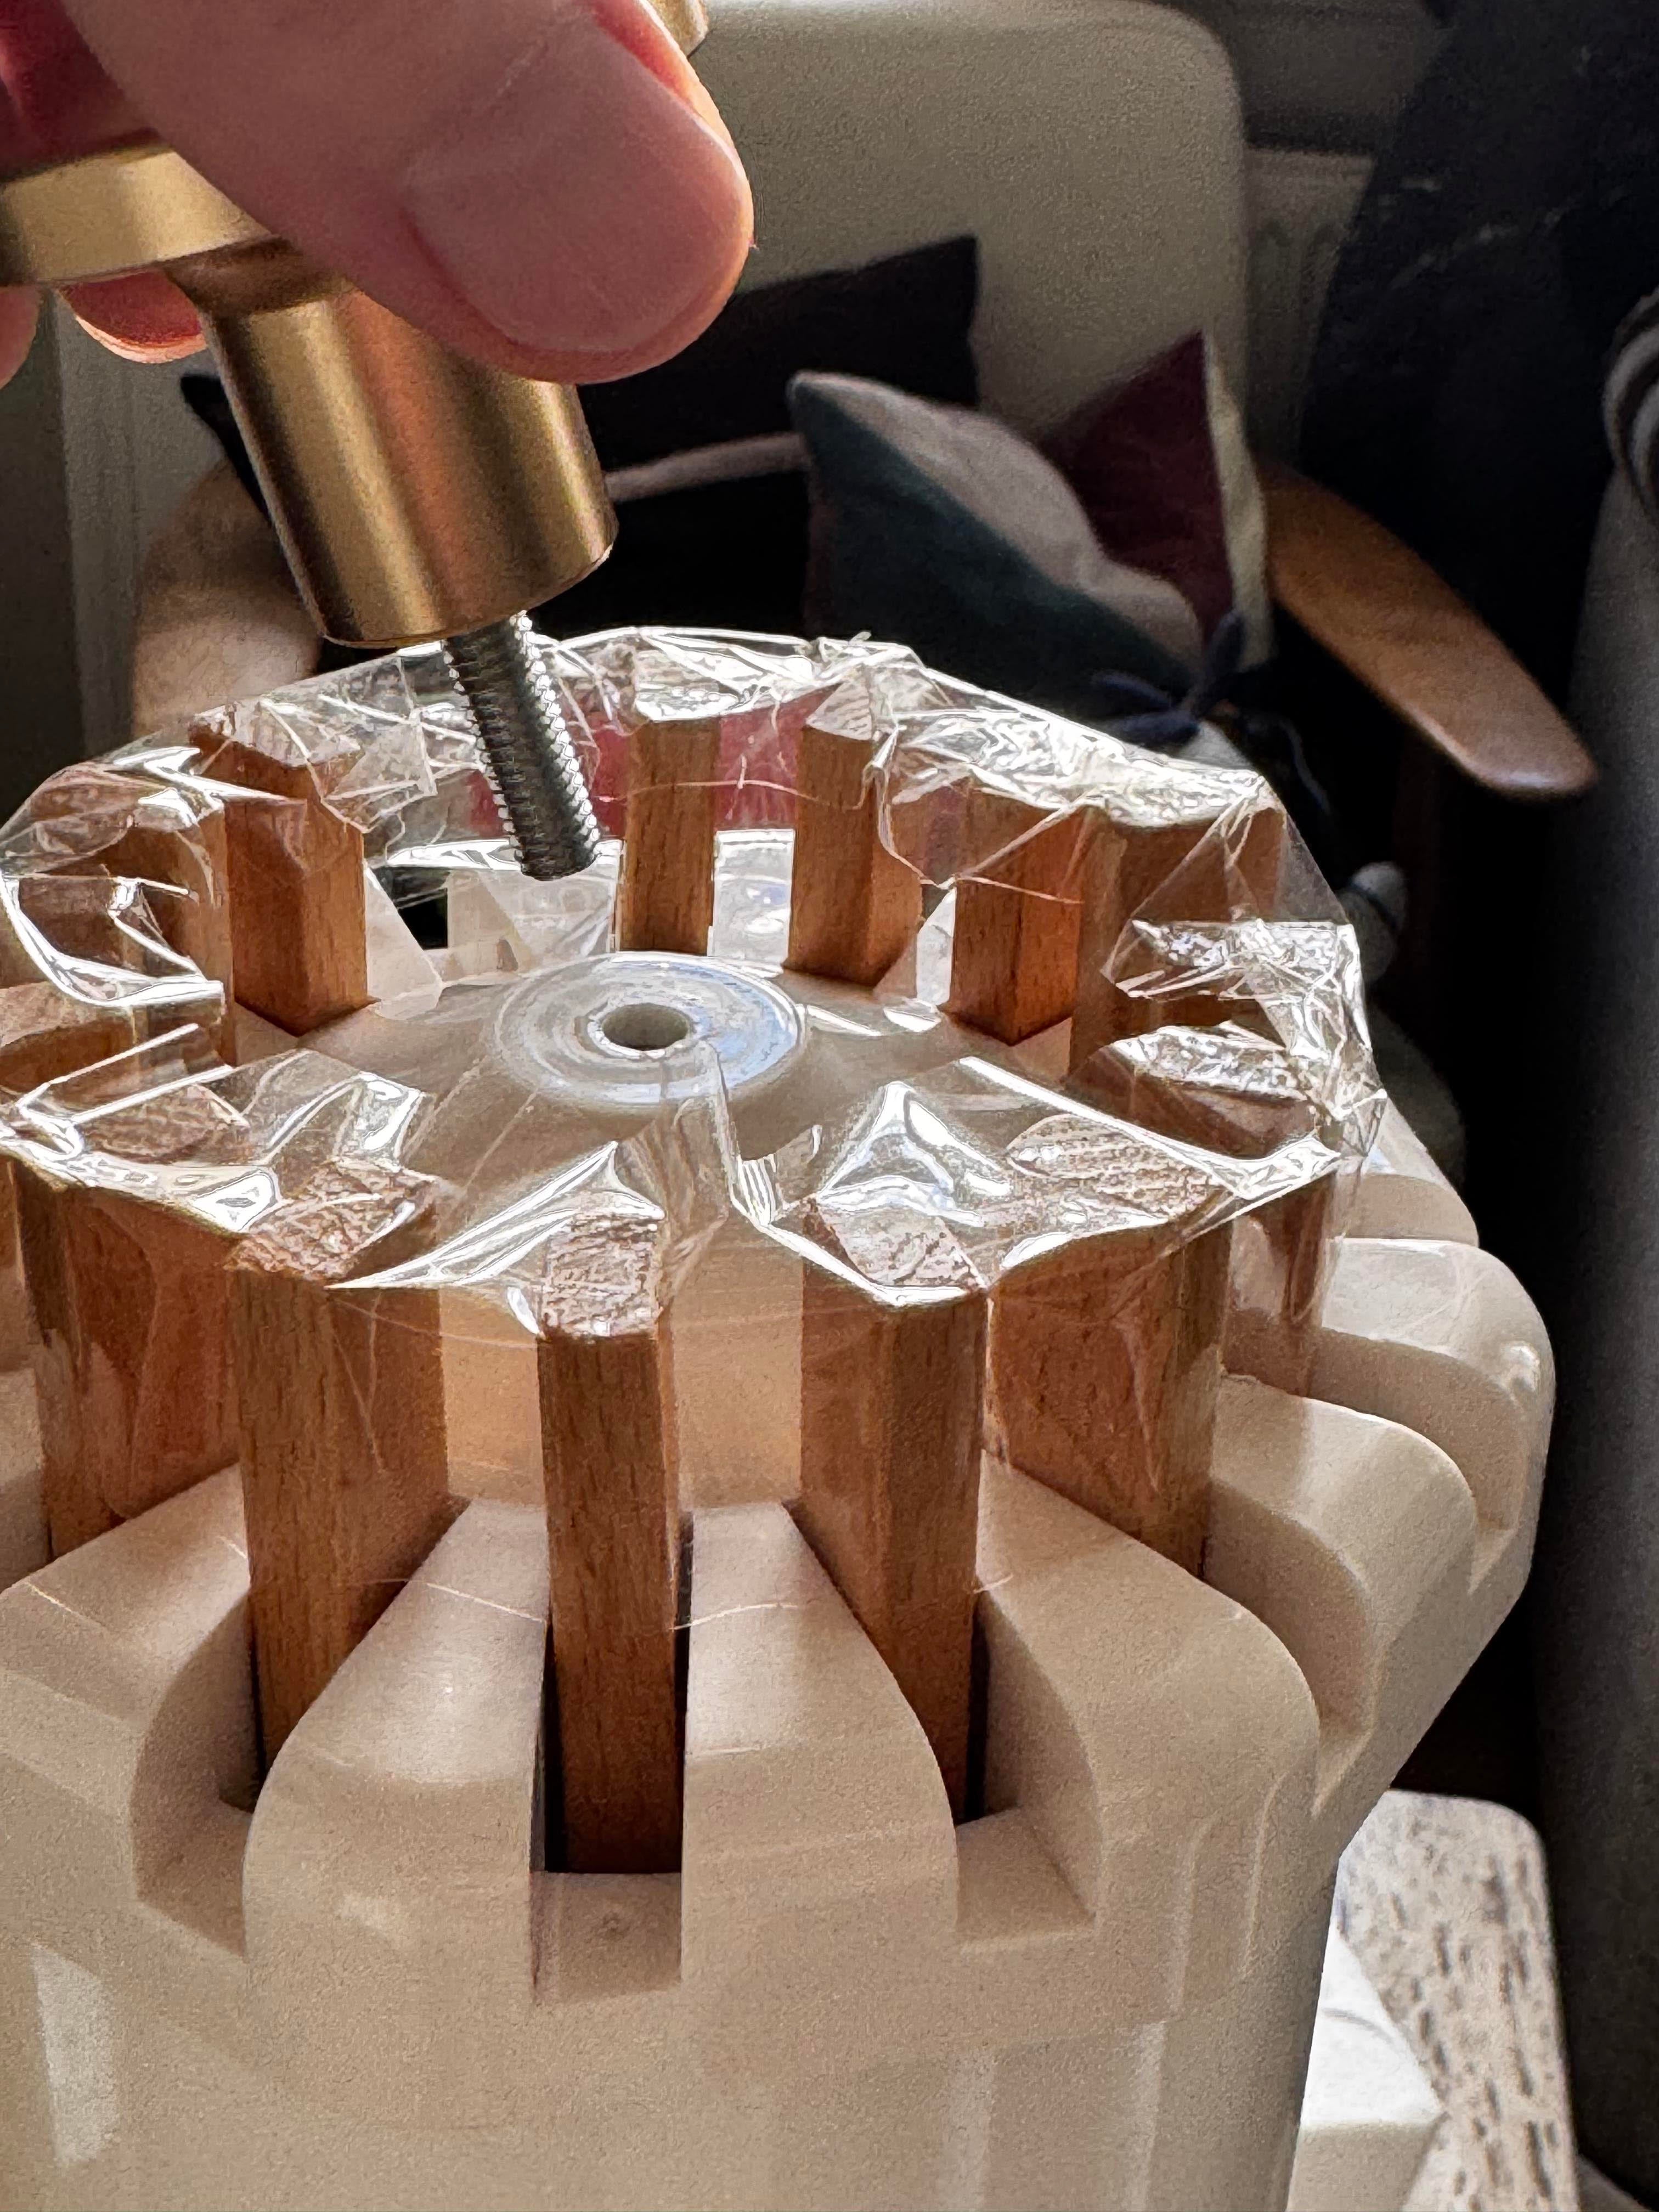
3. Remove the top
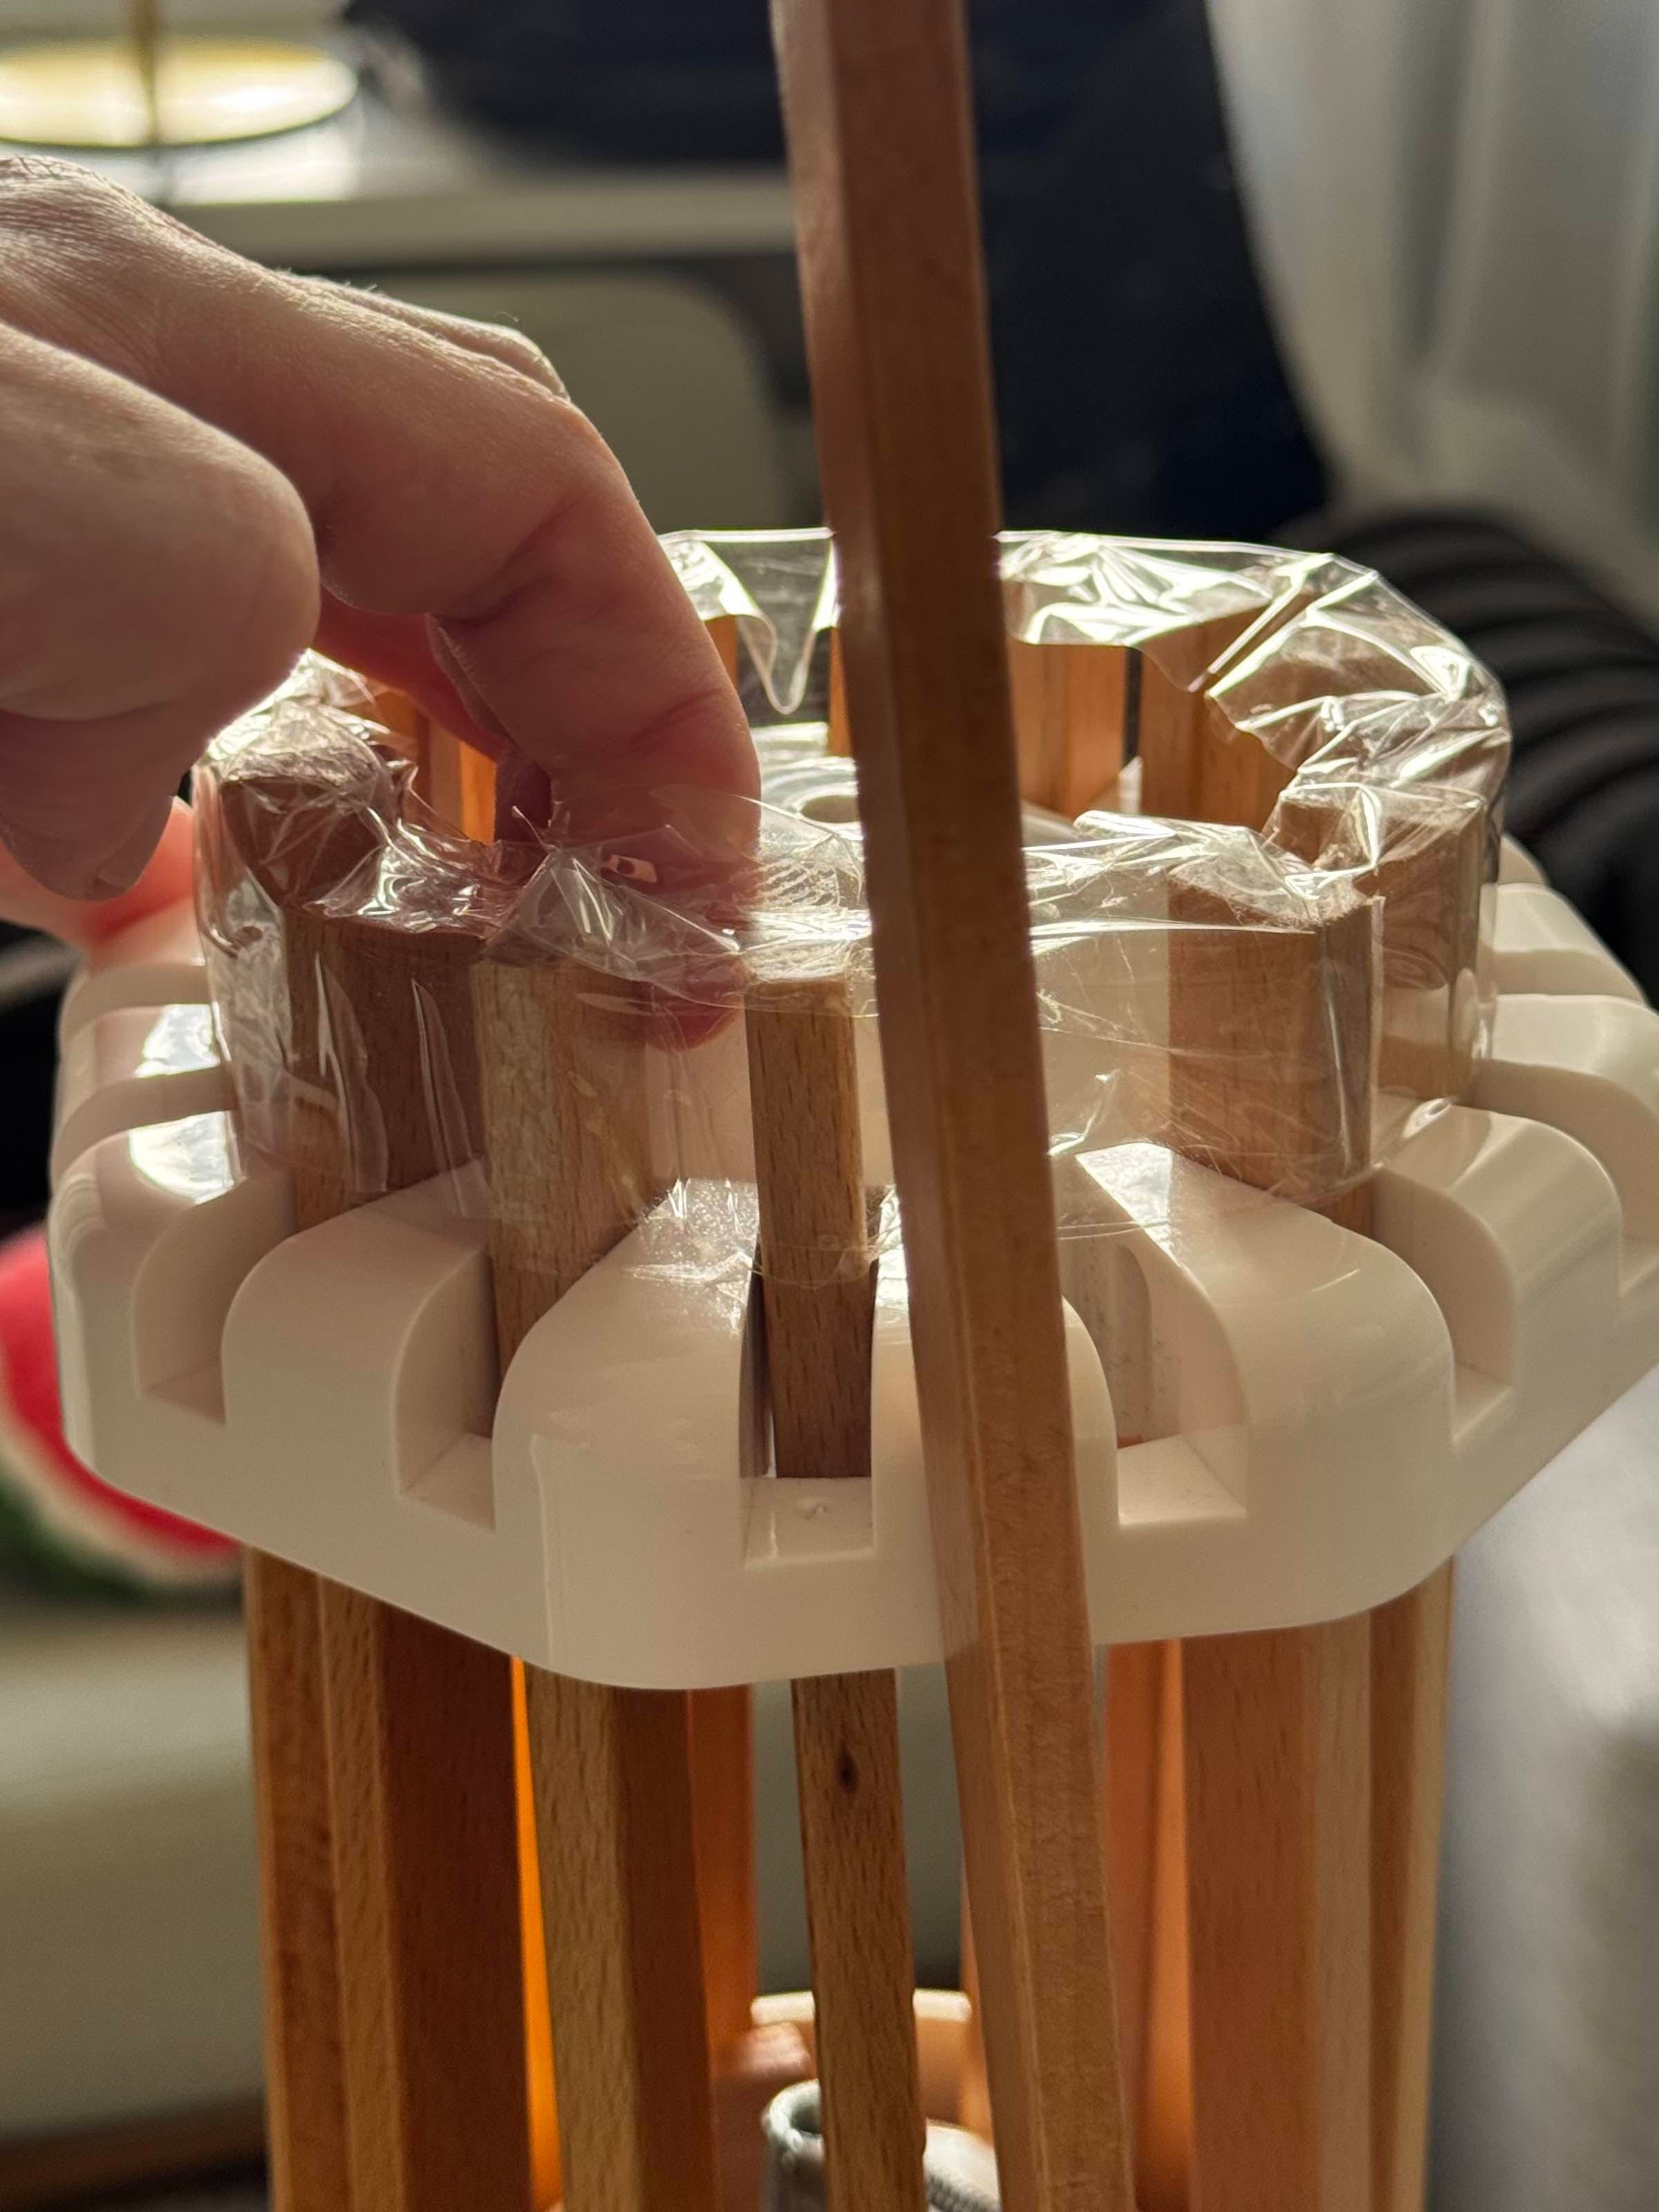
4. Have the spare arm ready
Carefully lift the top up.
Again, it's important that the arms don't fall down – the tape holds them up and prevents them from falling through the holes.
Take out the arm to be replaced and insert the spare arm.
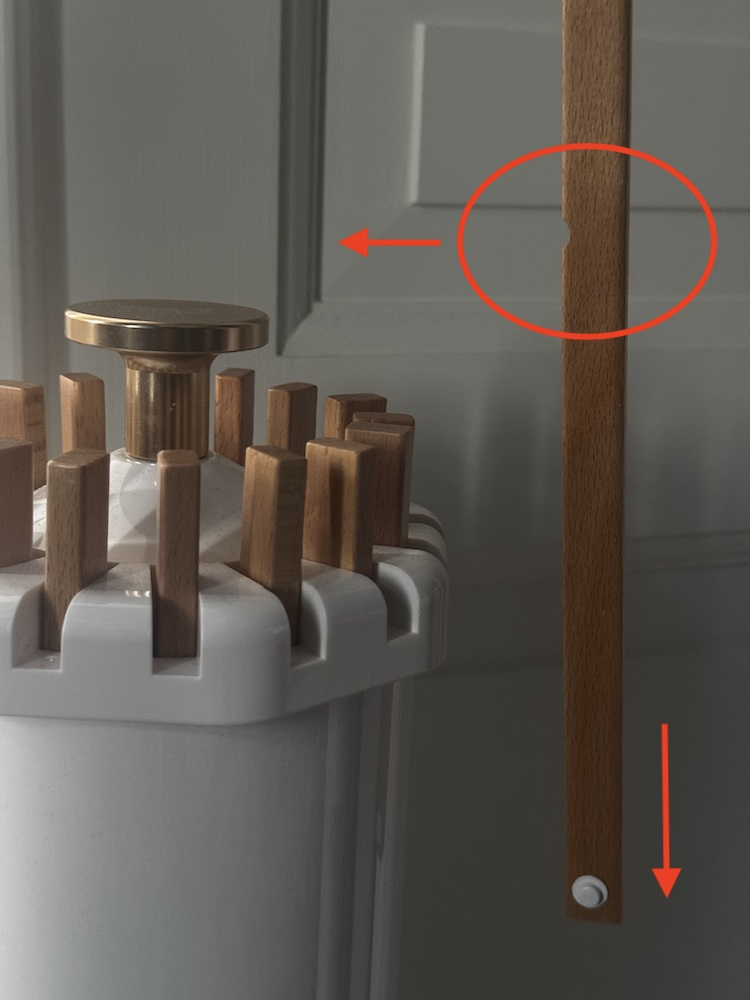
The spare arm
The grey-white round knob should face downwards, with the 3 hanger grooves facing inwards towards the centre.
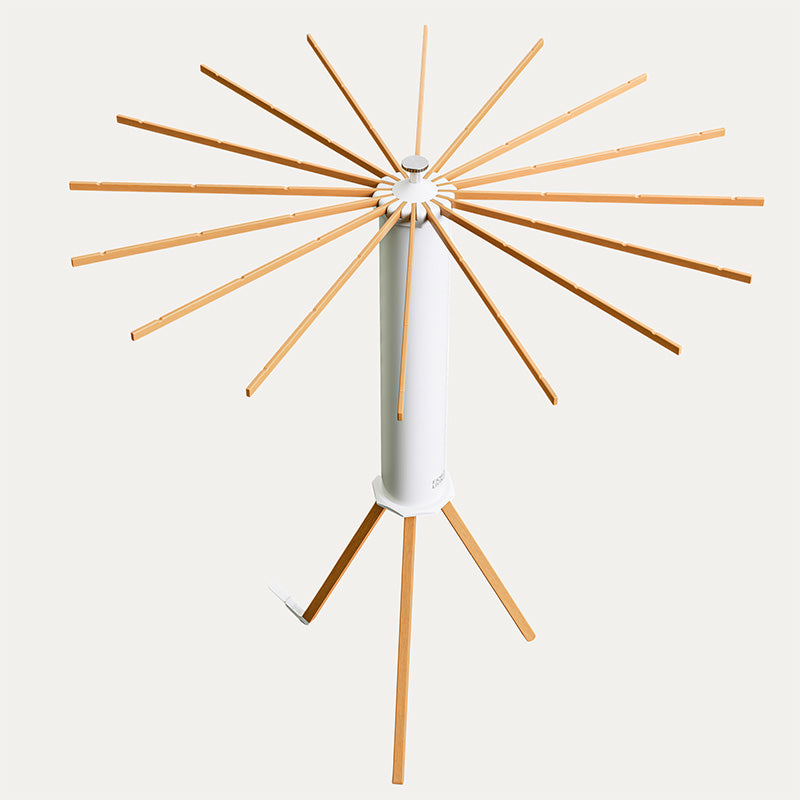
6. Screw the top on
5. Put the top back in place. Make sure the holes for the arm and the centre screw line up.
Screw the top back on, and your rack is ready to use again.